This article is all about women’s photography gear for the Galápagos Islands. It’s meant for women who travel with a DSLR. I spent a lot of time preparing for my trip to the Galápagos Islands, during the December holidays 2019. I read A LOT about photography gear and equipment that others have taken on their trips to the Islands. Every single article I found (except for one) was written by a man. That’s not a criticism it’s just a fact. I found those articles to be helpful…to an extent.
Much of the recommended gear and suggestions were just impractical for me. For example it was generally recommended to carry two camera bodies as well as lenses that are bigger than me (I’m exaggerating, but you get what I mean – REALLY big lenses). So that’s why I found limited value from those articles. I was disappointed at the lack of content for women; or at least info that’s practical for women, so I decided to write about my experience. And, I hope that all you ladies find this helpful while planning a trip to the Galápagos, as it’s a true gem.
Two Camera Bodies. Bravo for being above-and-beyond prepared. For a once in a lifetime trip like this, I understand why that would seem necessary but for me the extra weight and more complicated packing was not manageable. And I find it hard to believe that I’m the only person who feels that way. I took one camera body.
Recommended Camera Bodies and Lenses. Most of the articles I read were based on traveling with a full frame DSLR camera body. Full frame bodies are bigger and heavier compared to crop sensor camera bodies. Weight and bulk were two primary reasons why I bought a crop sensor Canon T6S. I should mention that I’m a hobbyist…not a professional travel photographer. And I distribute my images electronically 99% of the time…not making huge prints to hang on walls.
Another thing most of the articles recommend was to carry a wide angle lens with low light capability such as the 70-200mm as well as a zoom lens like the 100-400mm. I understand why but I think it’s important to find a balance between awesome camera gear and just enjoying holiday. And gear along with the weight can be really negatively impactful. I didn’t take a low light lens and I was glad that I didn’t.
Those lenses are heavy — approximately 5lb. each. I went to the nearby camera store to try them out and I could barely hold them up for more than a few minutes. And I don’t travel with a tripod nor monopod as they’re awkward, bulky and cumbersome when you’re constantly on the go – hiking, snorkeling, and adventure tours. So I knew that the lenses that were most recommended were not going to work for me.
At that point I felt a little lost. But with more research I found the perfect solution (for me). Here’s what I took:
- 1 Canon T6S body
- 1 Tamron 18-400mm lens + hood (1.56lb.)
- Canon 55-250mm as a backup
- 1 GoPro with accessories (detailed below)
- 1 iPhone 11
- Joby strap attached to the camera
- Rain covers
- Lens pouches
- Lens cleaning equipment
- Still debating about whether to take my 50mm f1.4 lens for low light
- 1 Drybag
- 1 Backpack (daypack)
- 1 Laptop
- 1 External hard drive
- Plenty of memory cards for the DSLR and GoPro
{Camera Lenses for Petite Women}
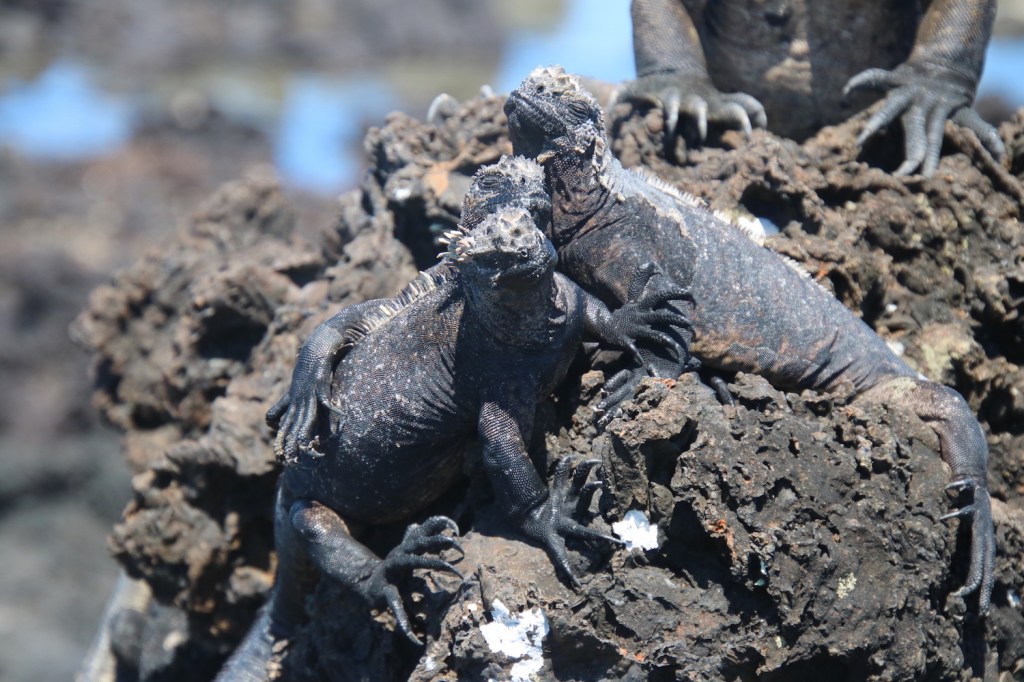
In the Galápagos you can get pretty close to the wildlife. Still, a telephoto lens was great to have. I had my 18-400mm Tamron lens. I was really glad I invested in the Tamron lens. This trip was the catalyst for getting it, as my 55-250mm would have been disappointing.
When I say you can get close to the animals, what I should clarify is that this only applies if the animals come close to you. You’re not allowed to veer off designated paths. That means that having a good zoom lens but also a lens with a good range for those times when an animal is closer are going to be very useful. That’s why I was very very pleased with the range on the Tamron 18-400mm which only weighs 1.56lb. That’s a lot lighter than 5lb. for the dedicated specialty lenses.
I was comfortable throughout the trip – which is very important. The last thing I needed was to be bogged down by heavy equipment. For example, on Santa Cruz island we walked to Tortuga Bay Beach. It was a good 45 minute walk – it was a flat walk but in the heat it still felt grueling. If I had had 5lb. of lens + camera body + all the rest of my day gear that would have = unhappy me.
The Process of Selecting a Lens for Galápagos Trip. At first I was going to rent a 100-400mm Canon lens and take my 18-135mm kit lens…that is until I actually tried out the Canon 100-400mm and it was so heavy that I could barely hold it up. So instead, I bought the Tamron 18-400mm lens from B&H photo. Normally I rent lenses but the cost difference to buy vs. renting it for my 2 week trip wasn’t all that different. And from all the reviews I read, people LOVED the focal range and ease for travel of the 18-400mm, which is also my primary use case – so I went ahead and bought it as it has now become my primary travel lens. I got a $100 off fo their holiday promotion with a tap-in console and a filter as well – so that was great value.

The trade off with a lens like the 18-400mm is some image quality. But I think that the only people who would notice this are travel photo snobs and professional photographers. For my use case of hobbyist travel photography to share with family and friends and on this blog, I was MORE THAN SATISFIED with the image quality.
For my purposes and how I plan to use my photos, the “lower” image quality was a factor of 0 and the pros of the Tamron far outweighed any cons:
- easy to carry
- one lens for wide angle and zoom
- the Tamron lens is meant for crop sensor bodies; the Canon lenses work on crop sensors but are made for full frame.

{Heavier Dedicated Lenses for the Galápagos}
If you are a warrior and have the ability to carry heavier lenses, then more power to you! Canon’s 70-200mm lens and the Canon 100mm-400mm lens are excellent choices. The 70-200mm lens does a better job with bokeh effects than the 100-400mm so that’s another trade off – less zoom, better bokeh – you decide what’s more important to you. The 70-200mm is the obvious choice if you’re going to do any sort of low light or night photography. If you are considering these lenses, I recommend taking one or the other, not both as that would be a lot of weight to carry around.
{Wide Angle Lens for the Galápagos}
You’ll also want a wide angle lens. With all of the gorgeous landscapes you’ll be in, don’t skip out on this. I looked into the Canon 10-18mm as well as the 10-24mm. By the way when I say ‘I looked into’, that means I spent about 4 hours reading reviews and articles, plus time talking to 2 professional photographers, talking to the people at the camera store, and I posted questions in forums amongst people who went to the Galápagos Islands…so I invested a fair amount of time into this.
To my surprise the general consensus was to skip the wide angle lens and use my phone. I recently bought the new iPhone 11 (November 2019). I got the 11, not the 11 Pro or Max so I don’t have the telephoto camera but I have my Tamron telephoto lens so I’m fully covered in terms of wide angle and zoom and only with 1 lens and my phone…not bad for someone who always wants to pack light. For me using my iPhone for wide angle was the right choice. It’s hard to beat the convenience of the phone. And coupled with the stellar image quality, it’s a no-brainer.
{Waterproof Camera}
I also took a GoPro, along with:
- Selfie stick
- Floating stick
- Housing for flotation
- Harness that attaches to the shoulder strap on my backback strap for hands free shooting
- Extra batteries + charger
- Extra memory cards
Like the lenses I looked into a GoPro vs. DJI Osmo Action. As I was researching I wavered between the two and ultimately decided on the GoPro because the DJI doesn’t have image stabilization when shooting HDR video in 4K/30. The other thing that tempted me towards GoPro was the reviews about GoPro’s user interface and how much easier it is to use compared to the Osmo Action. The one thing I love about the DJI Osmo Action is the vlogger camera. I was bummed that they made that as a separate optional module for purchase on the GoPro, also making the DJI much less expensive than the GoPro for those that choose to buy it.
Also, and this is just a timing thing but I decided to get a GoPro literally a couple weeks before the new Hero 8 Black came out, so there was the allure of getting the newest product on the market too.
{Lost My GoPro To the Ocean}
I lost my GoPro during the trip. The top part of the “floating” selfie stick came undone (I didn’t even notice) while I was overwhelmed exploring the coral reefs at Los Tunneles like a woman at a Manolo Blahnik super sale. This is the “floating” selfie stick that I purchased. There I was having the time of my life and suddenly realized that my hand felt really light. And then I saw that the GoPro was gone. I searched around for a while and even the guide tried to help…but it was gone.
ProTip: Lesson learned, buy the protective housing floatie that GoPro sells – that fits to the camera itself in addition to a floating selfie stick.

{Memory Cards + Backing Up Photos}
I knew that I was going to take 768905677 photos. So how do you store and backup that many photos and create space for new photos? I thought about the various combos:
- buy more memory cards but what about backing up files?
- Buy a wireless external hard drive. But that’s a pretty $$$ investment and relies on good consistent internet.
- I already have a (wired) external hard drive and plenty of memory sticks, as long as I keep removing the photos from them.
What to do?
My travel MO is that if I’m shifting accommodation often (every two days), then I optimize for being as portable as possible – pack more memory cards and don’t think about backing up files to a hard drive until I get home. If I’m not shifting accommodation that often – then back up files. Since I spent 4 nights in each accommodation I decided to take my laptop and my wired external hard drive and I backed up photos to create memory space that way.
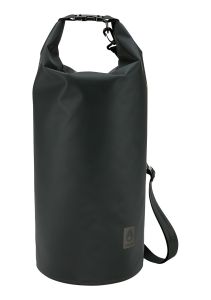
{Petite Women: Drybags are a MUST}
Most of the articles I read about the Galápagos Islands insisted that taking a dry bag is not necessary as the wet landings you’ll do off a panga are easy, moreover that the guides help you in-and-out, and the water is shallow – knee deep.
The definition of ‘shallow, knee deep water’ is not the same for everyone. I’m 4’11” so the differential between the ocean surface and my head is much smaller then it is for the average size American man and even the average size American woman. Besides, if you’re a petite person, getting on and off pangas can be awkward, in exactly the same way it’s awkward for us shorties to get on and off bar stools.
So…in my opinion, women, especially petite women, (5’4″ and under) need a dry bag for their camera gear for a trip to the Galápagos Islands. You do not want to be heartbroken…on holiday…without photos…with $1000s gone to waste, when all you needed was a $10-$15 drybag to protect your gear.
I was glad I took a drybag. I didn’t have trouble with any of the wet landings – I didn’t fall in the water but I had the peace of mind that if I did my gear was protected. Plus the drybag is an investment piece of travel gear – something you’ll probably need on a future trip.
{Day Pack: Carrying Your Camera Gear}
In my opinion one of the most important considerations is how you’re going to carry your camera. In all of my travels I always carry my camera body and lenses in my carry-on luggage – never checked in. I like it when I can make my carry-on double as my daypack – which is usually a backpack. I love my OGIO Soho Women’s backpack. I’ve taken it across the globe for everything from jungle treks to traipsing around big cities. I’ve had it for over 7 years, it definitely looks a little tired but it only just got its first teeny tiny hole.
UPDATE: I originally wrote this article towards the end of 2019. It’s now exactly 3 years later (2022) and my Ogio Soho no longer feels sufficient for hiking and trekking. The Ogio has water bottle pockets on either side that are very shallow and don’t have a mechanism to secure them. Over time they become loose and unusable. On a recent trip I put my water bottle in the pocket and placed the bag in the trunk of my car. I didn’t realize it had fallen out until I was going through airport security.
The other thing I noticed in the last couple of years when I was only traveling domestically, is that on some longer hikes and treks the bag was uncomfortable. I found myself wishing the weight was more distributed to my hips and legs vs. my back.
This December I’m taking my first international trip since December 2019 and I decided to invest in a hiking backpack that will also be my carry-on. Don’t get me wrong, I still love my Ogio. I’ve used it for travel, work, school, weekend outings, hiking, and day trips for 11 years. And I’m probably going to buy a new one to use for everything except hiking and trekking.
There are lots of excellent backpacks for women. In general, you’ll want a sturdy, medium to large size day pack. And it’s best if it’s a backpack – not a shoulder bag – as you’ll be most comfortable.
Here’s a list of items likely in your day pack:
- 1 rain jacket
- 1 water bottle
- Sunscreen
- Hat
- Sunglasses (prescription and/or non-prescription)
- Eyeglasses
- Contact lenses
- Snacks
- Shoes
- Microfiber towel
- Swim cover up
- Photography gear
- Binoculars
- Hand sanitizer
- Tissues or napkins
- 1 dry bag
- Medicine (prescription, sea sickness etc.)
- Extra hair ties
- Lip gloss/Chapstick
- Snorkel mask (optional)
- Carabiners – some Galápagos tours are combo hike + snorkel, so having carabiners is nice to hang shoes and other equipment.
- Warm layer
- Swim cover up
The camera gear, alone, is a fair amount of stuff: waterproof camera + accessories, camera body, one- two lenses, extra memory cards, extra (charged battery), lens cleaning kit, rain cover, selfie stick, waterproof camera and all the accessories for that. So you’ll want a backpack with capacity and pockets for organization.

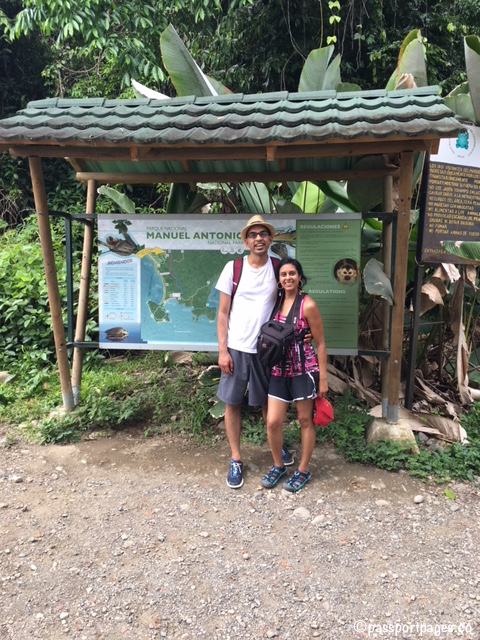
I looked into getting a Peak Design backpack strap Capture Clip as well as a Cotton Carrier sling. These are very nice products. I personally don’t find the need for either as I prefer my Joby Strap. However, between the two products I like the Capture Clip better than the Cotton Carrier Sling. The sling is more of a commitment as you wear a whole harness. I took a DSLR harness on my trip to Costa Rica and while it was very comfortable, I hate the way I look in most of the photos from that trip (see below). And it was too much drama to remove the harness every time we wanted to take a picture.
The dork factor is super high with harnesses. The Cotton Carrier Sling is WAY more slick looking than the hella nerdy harness I had in Costa Rica, but I think I’m scarred from that experience and turned off from harnesses altogether. Also, with the Cotton Carrier harness, the camera is still exposed to the elements, whereas with my super dorky harness below, the camera was totally protected. So even though I looked like a total dork, practically speaking, the harness I had makes more sense…at less cost compared to the super slick looking Cotton Carrier Skout.
{Bathroom Breaks in the Galápagos}
Why am I dedicating a section on bathroom breaks in an article about camera gear? Because it relates to the items you’ll pack in your daypack along with camera gear. And also, frankly, because this article is for women and bathroom stuff is always more complicated for women than men.
The inhabited islands in the Galápagos have facilities but the uninhabited islands do not. So the yachts you’ll be on for day trips will be your only access to facilities. I decided to prepare (or you might call it over-prepare) for the unexpected and took:
- biodegradable disposable toilet seat covers
- mini tissue paper rolls + biodegradable bags to carry out used tissue in a non-gross, hygenic way
- mini biodegradable, disposable towels
- hand soap
- hand sanitizer
- female urinal
I did not use the female urinal a single time. I was very glad to have hand sanitizer, toilet seat covers, tissue paper, towels and soap. These items took up very little space and weight and when you need them — you need them. Unexpectedly one place where the toilet seat covers came in handy was during the 7 hour layover at Mexico City airport. Toilet seat covers are not a thing there (actually they’re not really a thing anywhere except in the United States) and I was glad to have them.
{Summary and Conclusion}
In this article about women’s photography gear for the Galápagos Islands, I detailed what photography gear I took on my December 2019 trip and explained why. I addressed:
- Camera bodies
- Camera lenses
- Camera accessories
- Waterproof cameras
- Carrying a DSLR
- Other gear
I hope you find this info useful as you plan your trip to the Galápagos. You might also like my article on how to decide on a land based or love aboard trip to the Galápagos.
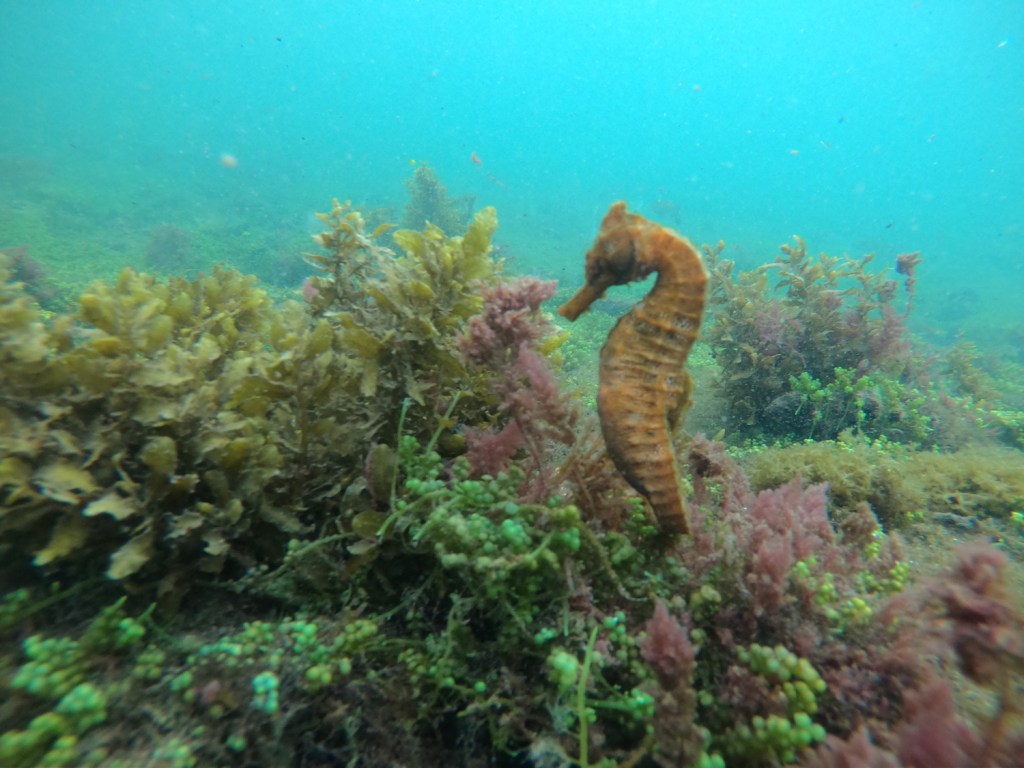
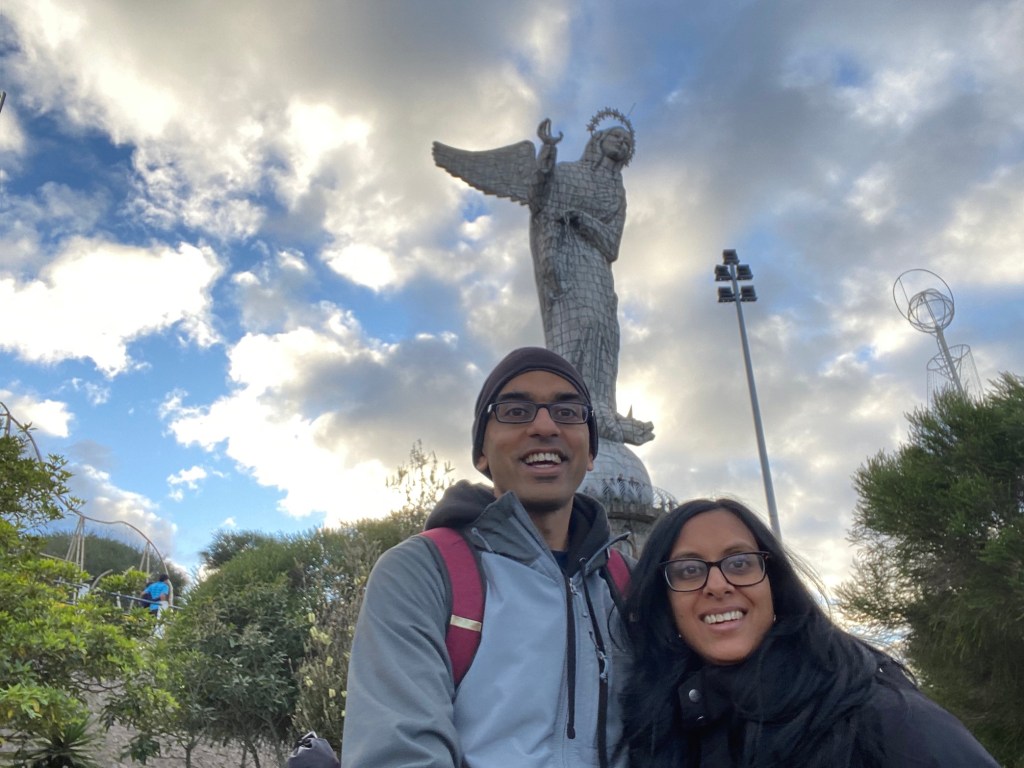
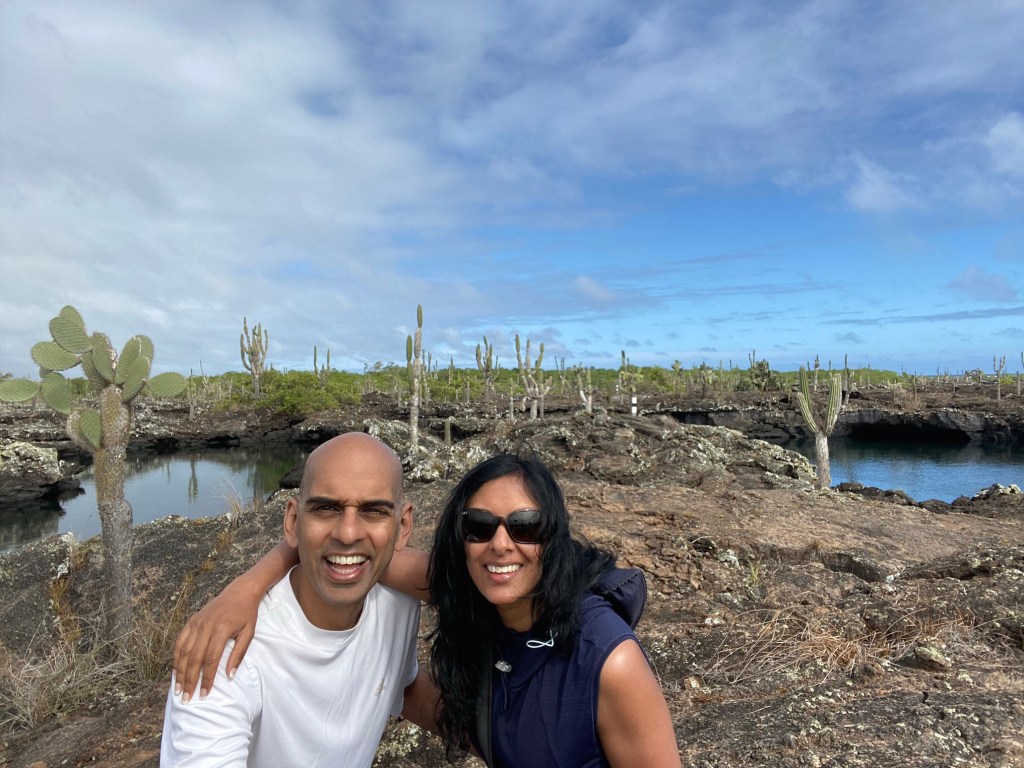
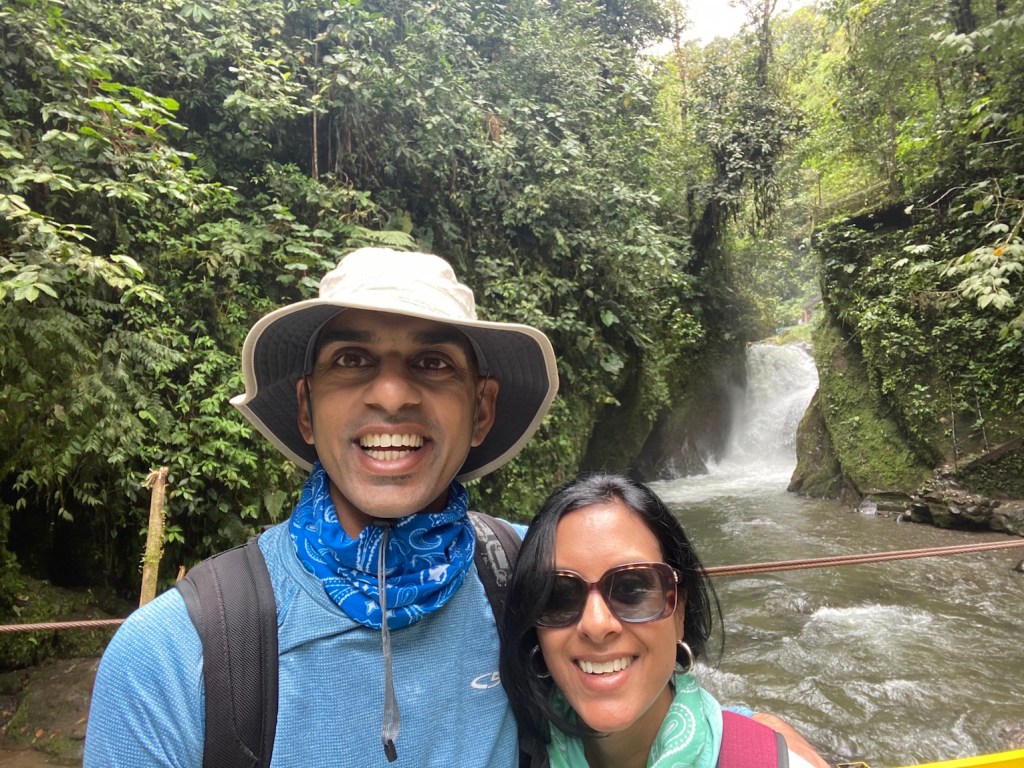
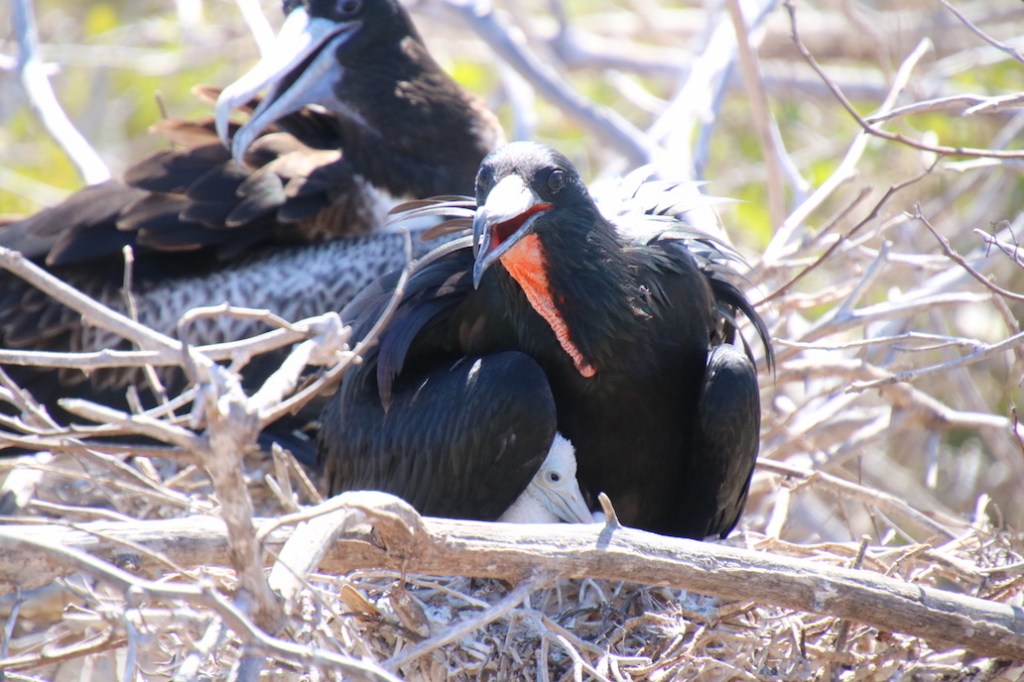
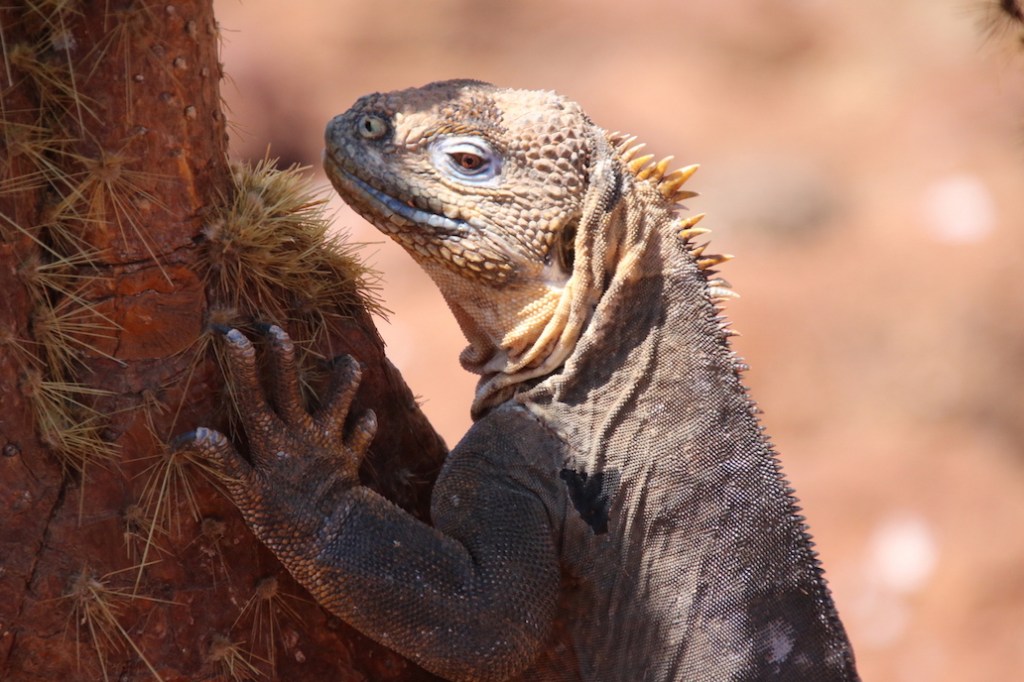
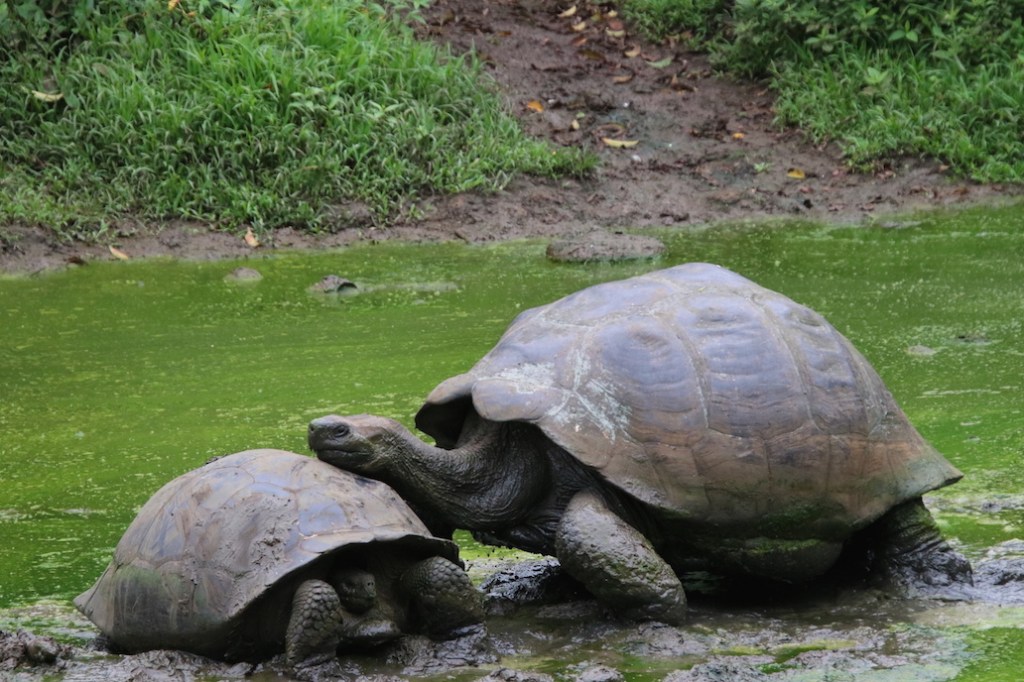
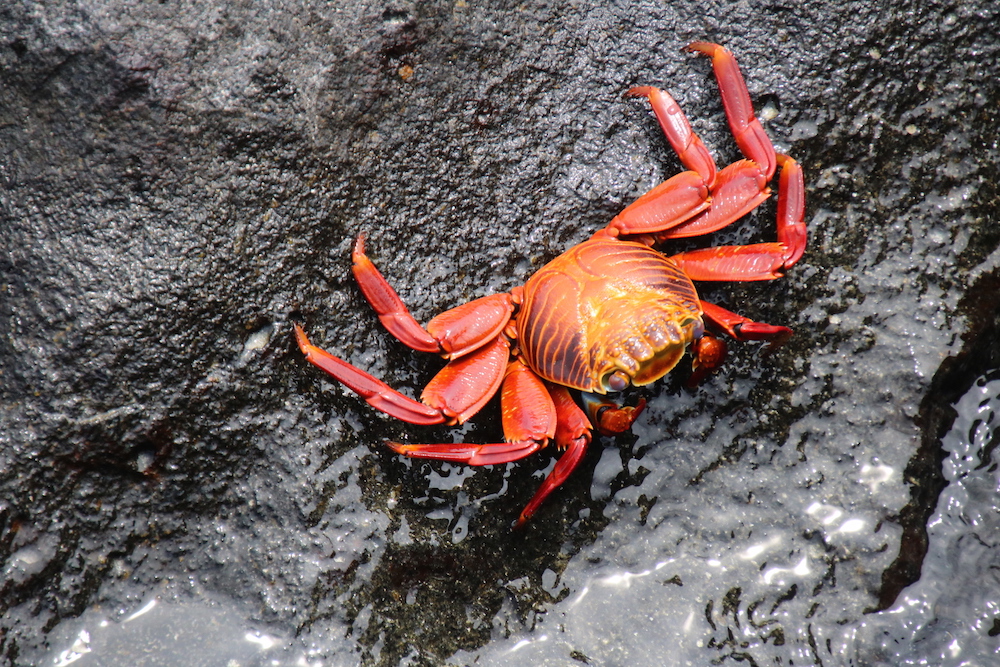
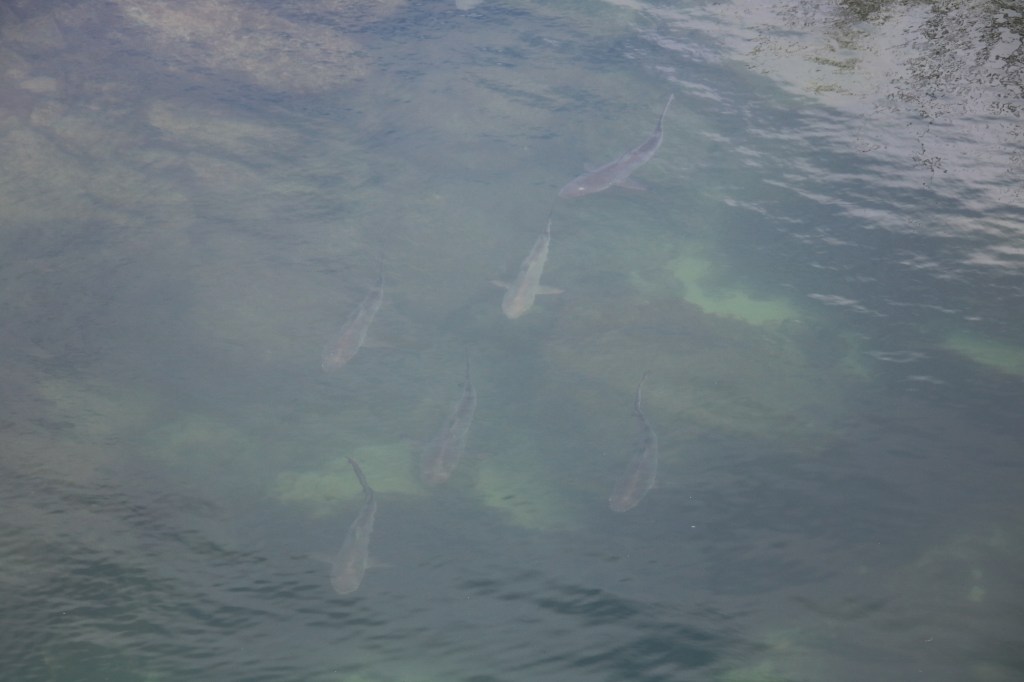
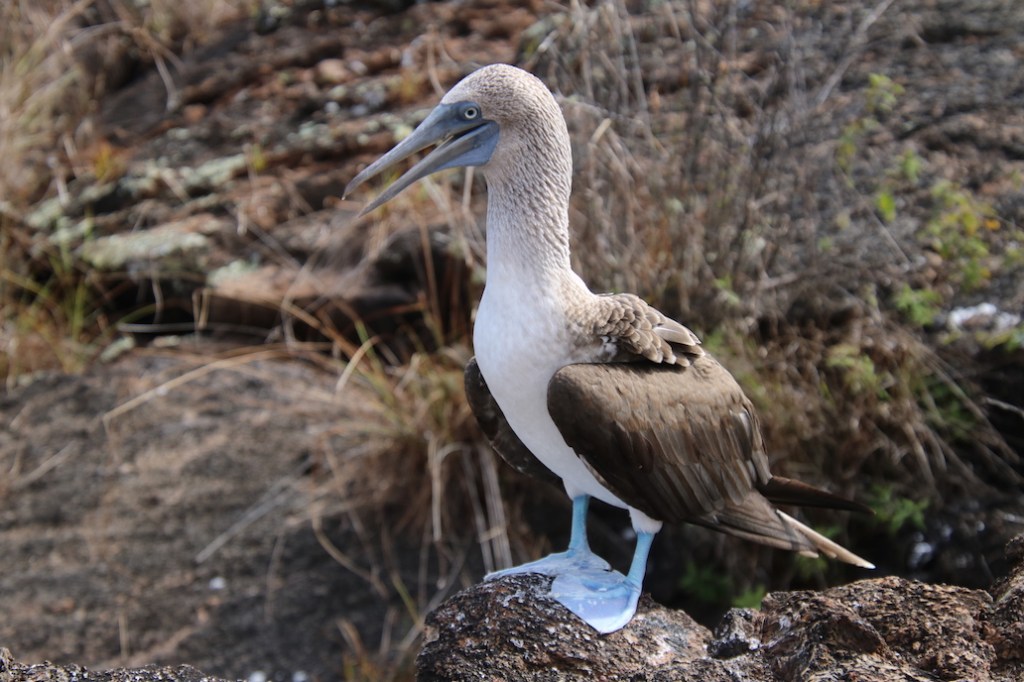
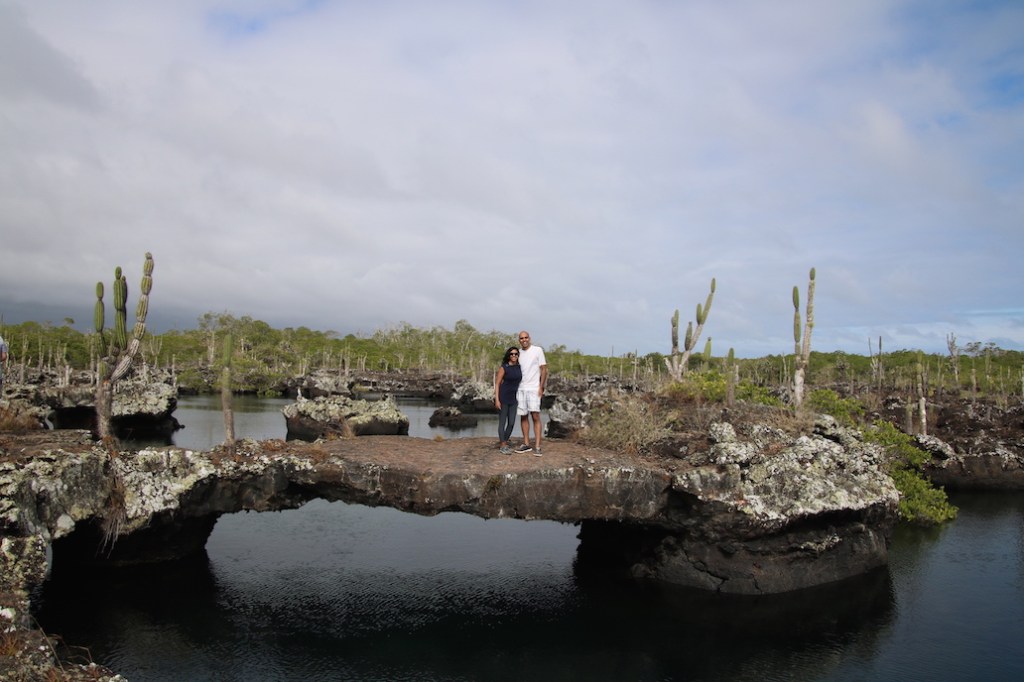
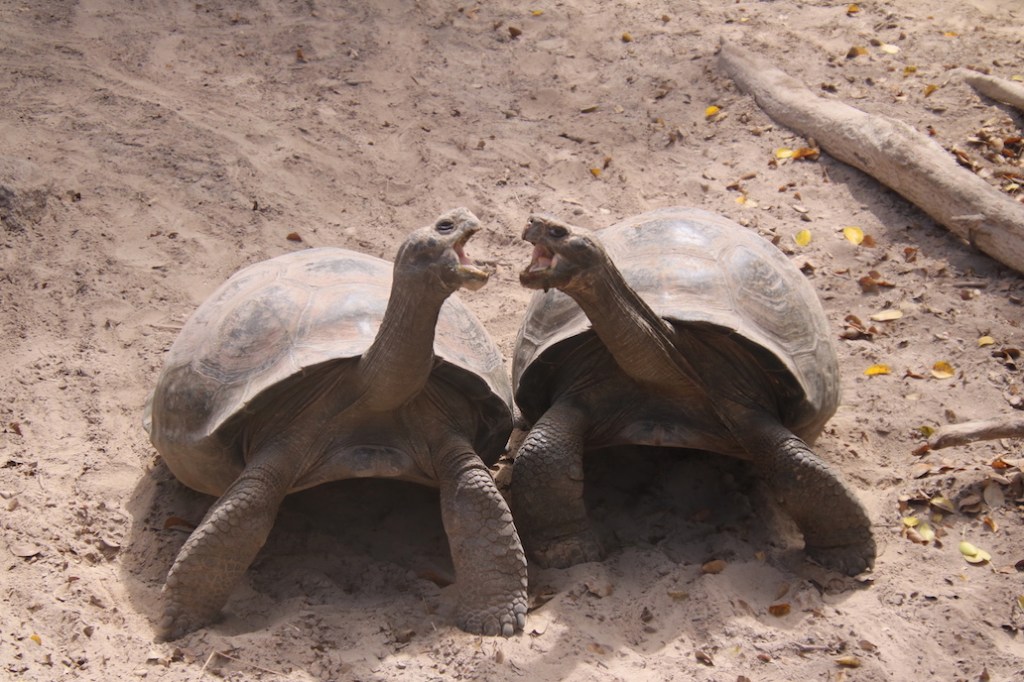
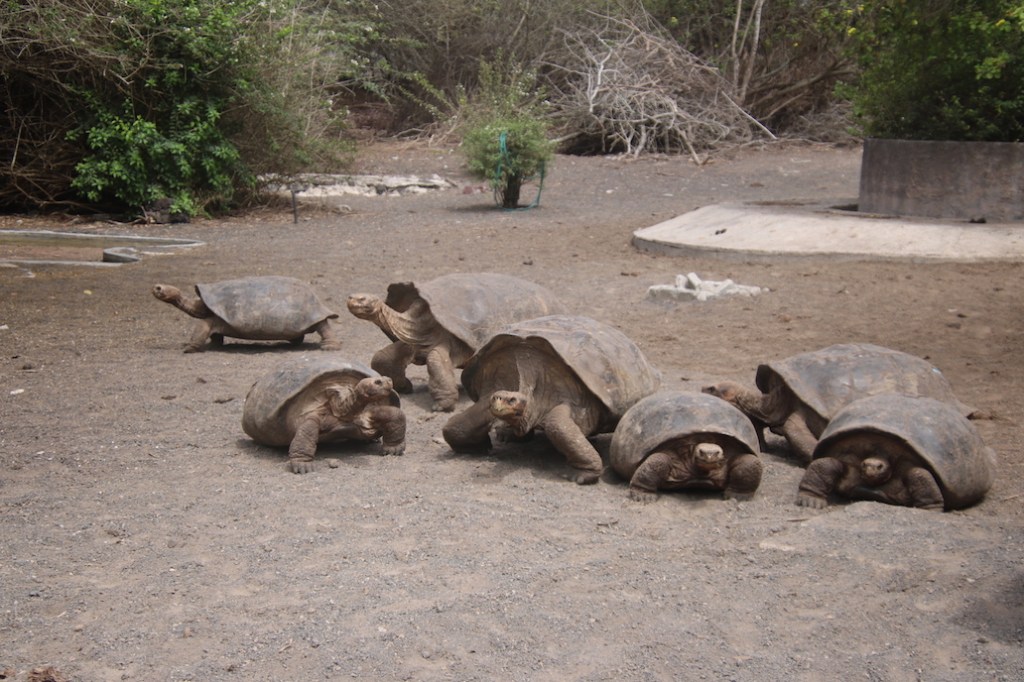
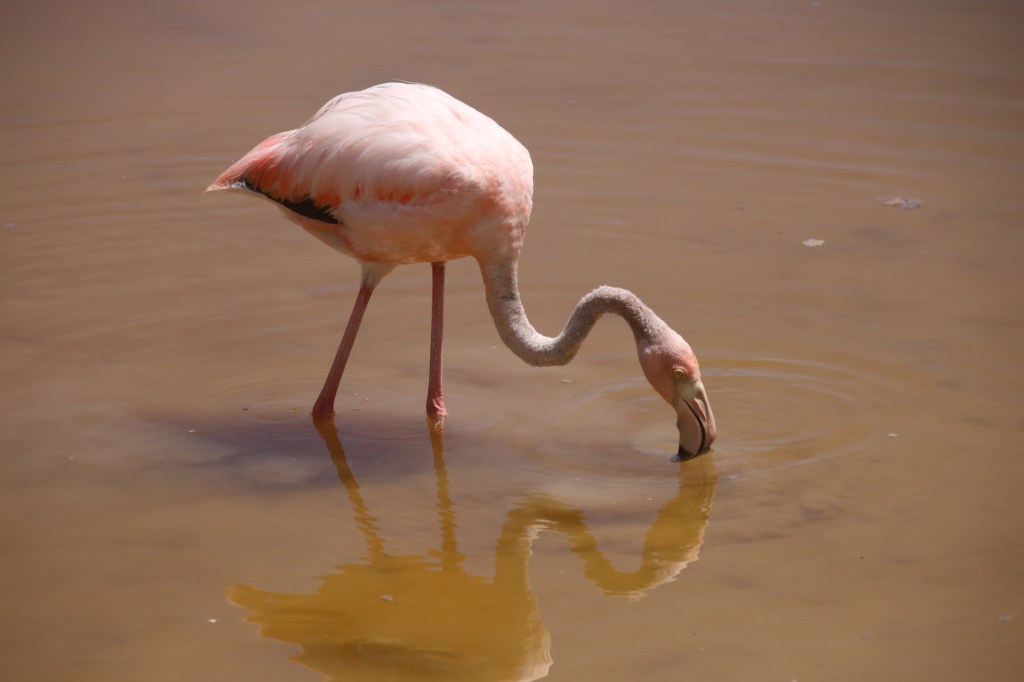
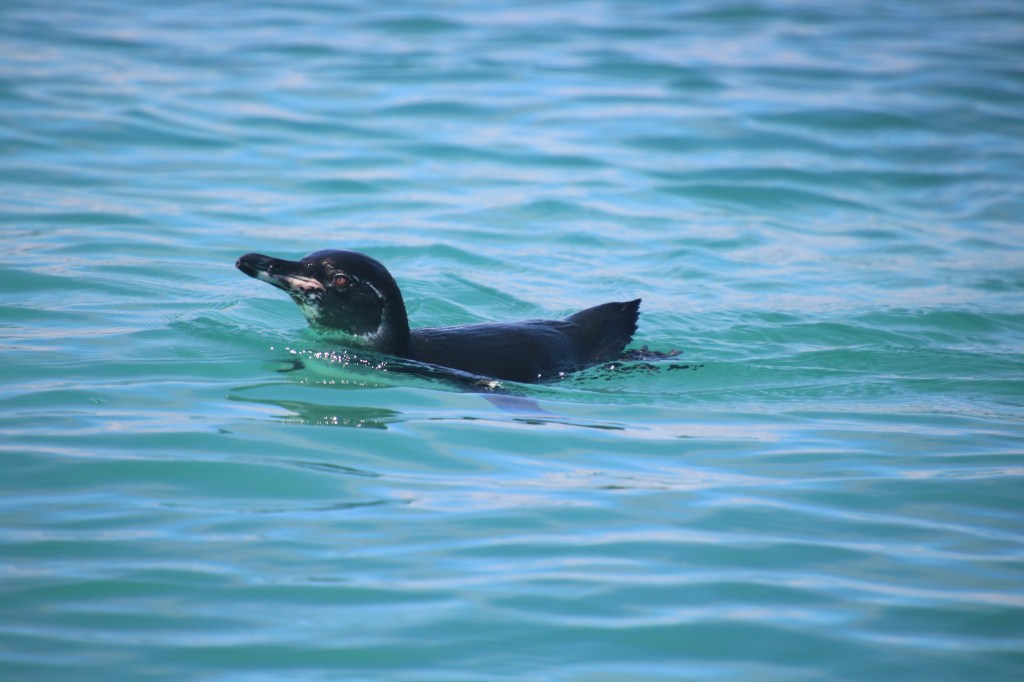
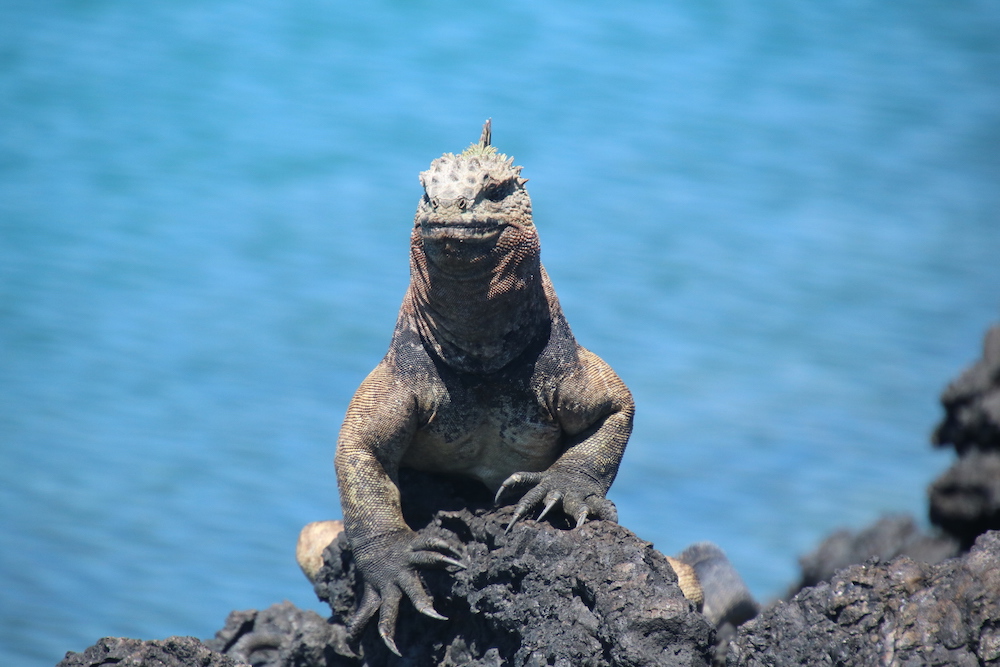
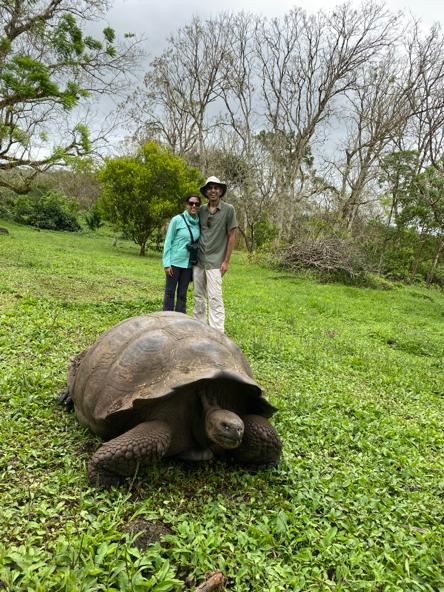
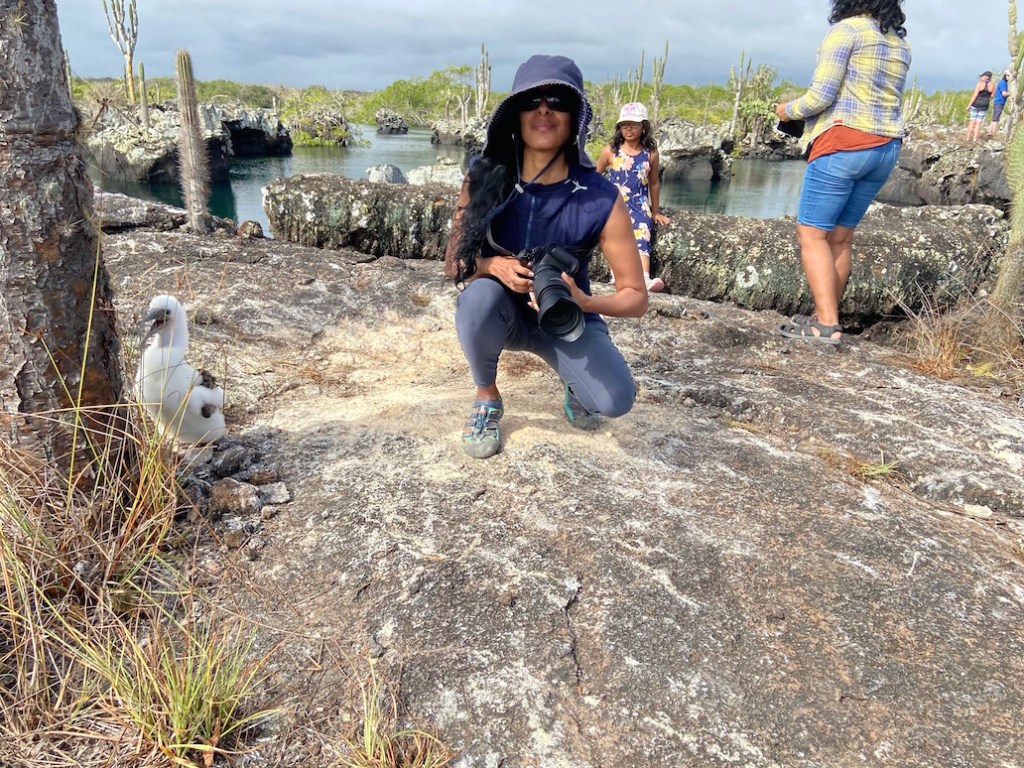
Here are some of my favorite photos from my trip. Happy travels!